Char-Broil 466250509 Guide de l'utilisateur
Naviguer en ligne ou télécharger Guide de l'utilisateur pour Barbecues et grillades Char-Broil 466250509. Char-Broil 466250509 Product guide Manuel d'utilisatio
- Page / 32
- Table des matières
- DEPANNAGE
- MARQUE LIVRES
- PRODUCT GUIDE 1
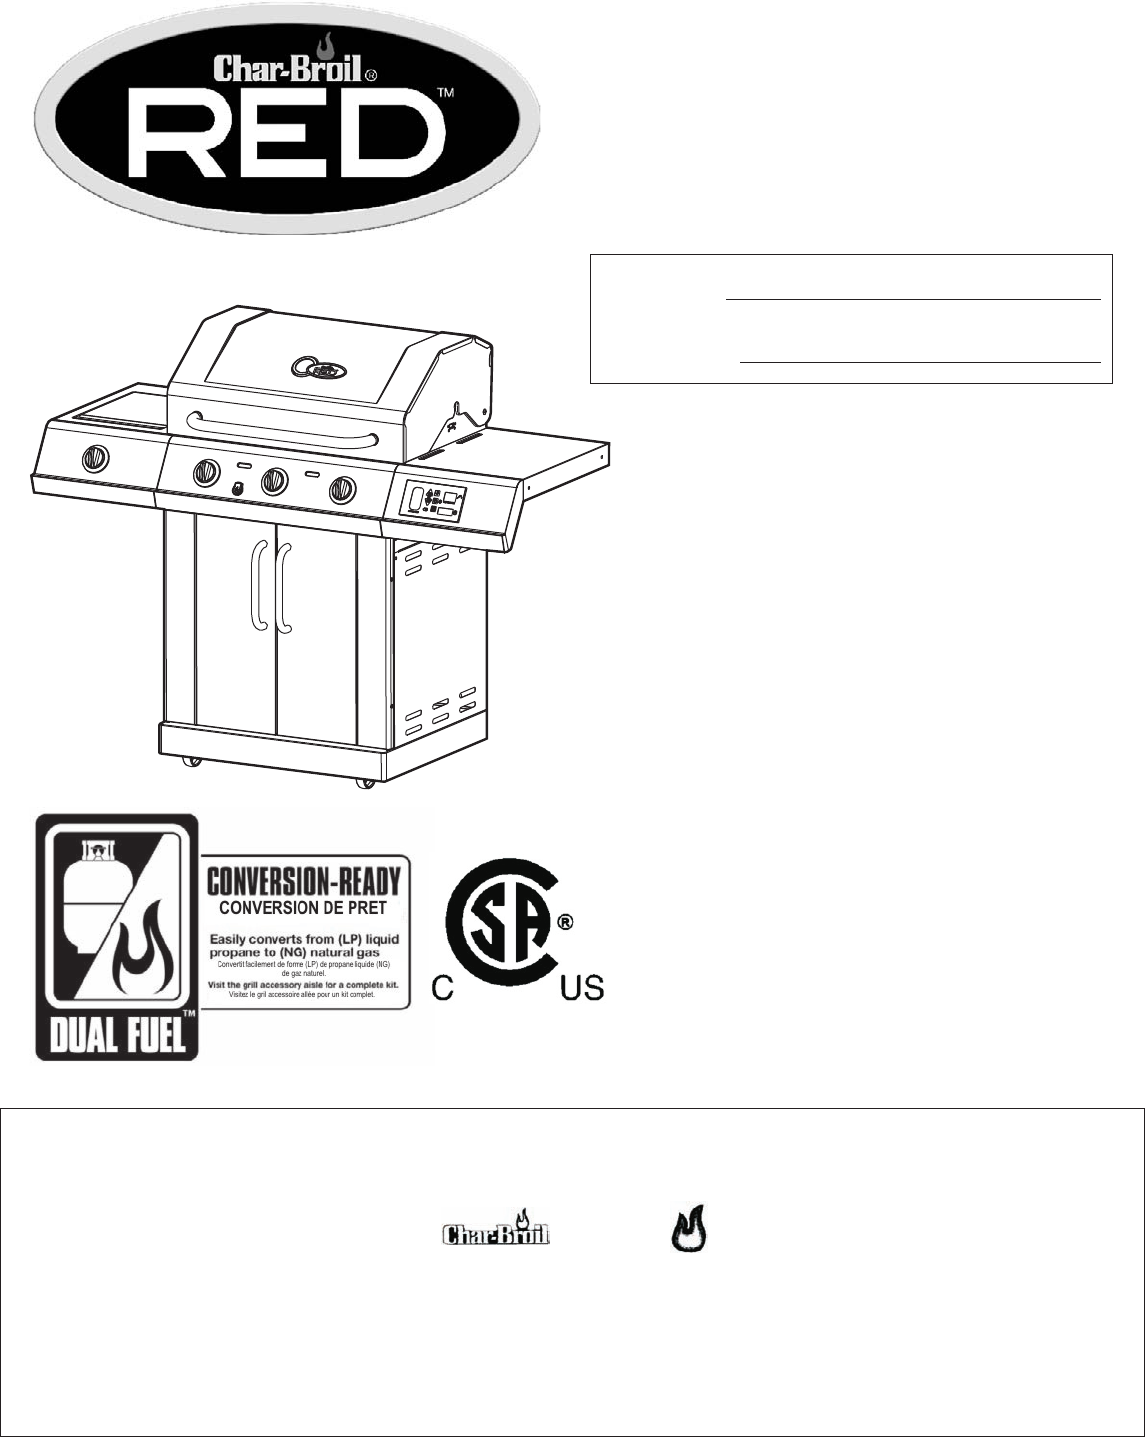
- MODEL 466250509 1
- CAUTION: 2
- INSTALLER/ASSEMBLER: 2
- CONSUMER: 2
- WARNING: 2
- OPD Hand Wheel 4
- LP Tank Valve 4
- Retainer Strap 4
- Safety Cap 4
- SPIDER ALERT! 9
- Digital Display Panel 10
- LIMITED WARRANTY 11
- PARTS LIST 12
- PARTS DIAGRAM 13
- ASSEMBLY 14
- Upper back panel 17
- 5mm Lock Washer 18
- 5mm Flat Washer 18
- #10-24x3/8” Screw 18
- Tank gauge 19
- #8-32x3/8” 21
- 4mm Lock 21
- Control Knob 21
- Burner tube 22
- Sideburner drip pan 22
- Sideburner 22
- Heat shield 23
- Troubleshooting 26
- Troubleshooting (continued) 27
- REGTEMP REV00 31
Résumé du contenu
Assembly instructions © 2008 PRODUCT GUIDEMODEL 466250509© 2008 Char-Broil, LLC Columbus, GA 31902Printed in China Serial NumberDate Purchase
Set Target Probe Temperature1. To set target probe temperature, hold down the for 3 seconds. This will activate the set mode.2. Use the
This warranty only applies to units purchased from an authorized retailer. Manufacturer warrants to the original consumer-purchaser only that this pr
PARTS LIST12NOTE: Some grill parts shown in the assembly steps may differ slightly in appearance from those on your particular grill model. However, t
PARTS DIAGRAMEABCDFGHIJKLMNOPQRST TTUVWXYZAABBCCAAABBBDDEEEEFFGGHHIIJJKKLLMMNNOOPPQQRRSSTTUUVVWWXXYYZZSSFCCC13
14ASSEMBLY21/4-20x1/2” screwMagnet17mm lock washer1/4” nut7mm flat washerAttach left and right tank tray rails on bottom shelf using six 1/4-20x1/2” s
1541/4-20x1/2” screw3Attach side panels to bottom shelf using three 1/4-20x1/2” screws, 7mm lock washers, and 7mm flat washers per panel.IMPORTANT: Pa
1656This step requires two people to lift and position grill head onto cart. Carefully lower the grill head onto the cart, aligning slots at bottom
1787On back of grill, place upper back panel between side panels and above lower back panel. Secure upper back panel, in lower holes, using one 1/4-20
189Attach right side fascia to right side shelf using four #10-24x3/8” screws, 5mm lock washers and 5mmflat washers, shown A.Attach one 1/4-20x1-1/2”
1019Temperature probeClampTank gauge wireTank gauge wireTank gaugePlace temperature probe to the clamp on the right side panel, shown A.Make the tank
1. Do not store or use gasoline or other flammable liquids or vapors in the vicinity of this or any other appliance.2. An LP cylinder not connected fo
1120left side shelfAttach left side fascia to left side shelf using four #10-24x3/8” screws, 5mm lock washers and 5mmflat washers, shown A.Attach one
1221Position sideburner valve bracket beneath sideburner shelf fascia so that valve stem comes through larger center hole in fascia. Align the holes o
1322Insert sideburner into left shelf. The stud on bottom of burner fits into rear small hole in sideburner drip pan, shown A.Under sideburner shelf,
14 2315Inside of cart, insert rear tank heat shield tabs(w/o holes) into slots on the bottom of upper back panel. Attach FireBox lower heat shield to
1624Insert the pin on bottom of doors into hole in bottom shelf. Press upper hinge pin in front brace, align hinge hole on top of Align the trough pin
18 25Place cooking grates onto the firebox as shown.Place the Warming Rack onto the the firebox.Make sure insert the Warming Rack ends into the holes
EMERGENCIES: If a gas leak cannot be stopped, or a fire occurs due to gas leakage, call the fire department.EmergenciesProblemGas leaking from cracked
Troubleshooting (continued)ProblemBurner(s) will not light using ignitor.(See Electronic Ignition Troubleshooting also)Burner(s) will notmatch light.
Troubleshooting - Electronic IgnitionProblem (Ignition)SECTION INo sparks appear at any electrodes when control knob turned to ; no noise ca
NOTES29
WARNINGCALIFORNIA PROPOSITION 651. Combustion by-products produced when using this product contain chemicals known to the State of California to cause
30 NOTES
REGTEMP REV0031
USE AND CAREOPD Hand WheelLP (Liquefied Petroleum Gas)•LP gas is nontoxic, odorless and colorless when produced. For Your Safety, LP gas has been give
WARNINGIf “growing” bubbles appear do not use or move the LP cylinder. Contact an LP gas supplier or your fire department!Connecting Regulator to the
6.Turn the coupling nut clockwise and tighten to a full stop. The regulator will seal on the back-check feature in the LP cylinder valve, resulting in
WARNINGFor Safe Use of Your Grill and to Avoid Serious Injury:• Do not let children operate or play near grill. • Keep grill area clear and free from
Burner Flame Check•Remove cooking grates and troughs. Light burners, rotate knobs from to . You should see a smaller flame in pos
CAUTIONStoring Your Grill•Clean cooking grates.•Store in dry location.•When LP cylinder is connected to grill, store outdoors in a well-ventilated spa
Produits connexes et manuels pour Barbecues et grillades Char-Broil 466250509
 (14 pages)
 (32 pages)
 (32 pages)
© 2020, manymanuals.fr. Tous droits réservés | 0.301 s |
 Manymanuals.com
 Manymanuals.de
 Manymanuals.fr
 Manymanuals.it
 Manymanuals.pl
 Manymanuals.cz
 Manymanuals.es
 Manymanuals-pt.com
Commentaires sur ces manuels